LAMP stack (Linux, Apache, MySQL, PHP) is one of the most popular web server setups used to host dynamic websites and web applications. In this guide, we’ll walk you through the process of installing and configuring a LAMP stack on a VPS, step by step.
Table of Contents
What is a LAMP Stack?
A LAMP stack is a collection of open-source software that works together to deliver web applications:
- Linux: The operating system.
- Apache: The web server that handles HTTP requests.
- MySQL: The database management system to store and retrieve data.
- PHP: The programming language that generates dynamic content.
Prerequisites
Before we begin, make sure:
- You have a VPS running a Linux distribution (Ubuntu, CentOS, Debian, etc.).
- You have SSH access to the VPS with a user that has
sudoprivileges. - Your VPS has a domain name or IP address that you can use to access the server.
Step by step to Install and Configure a LAMP Stack on a VPS
Step 1: Update Your Server
Before installing any packages, update the package index and upgrade the installed packages to the latest versions.
sudo apt update && sudo apt upgrade -y # For Ubuntu/Debian
sudo yum update -y # For CentOS/RHEL

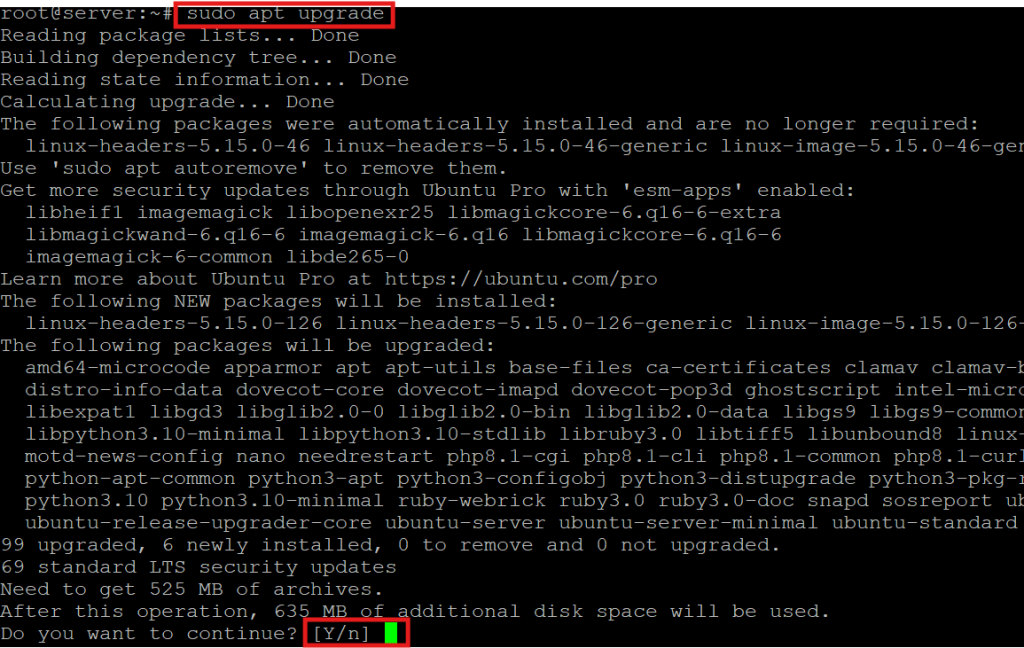
Press ‘Y’
Step 2: Install Apache
Apache is the web server that will serve your website’s files to visitors.
sudo apt install apache2 -y

Start and Enable Apache.
Start the Apache service and enable it to start on boot.
sudo systemctl start apache2 # For Ubuntu/Debian
sudo systemctl enable apache2

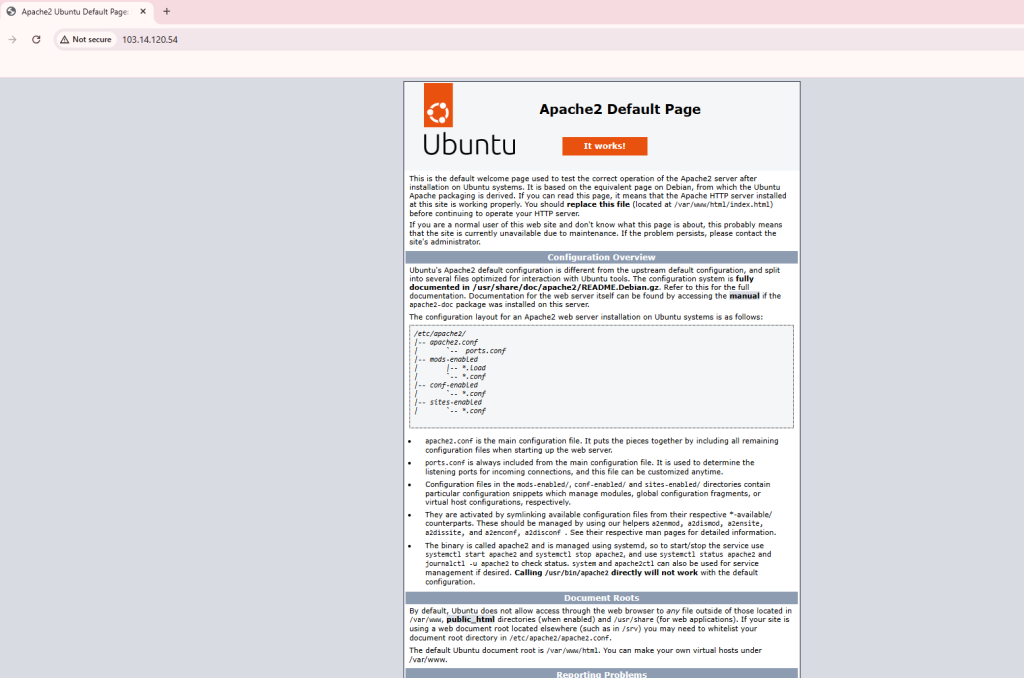
Verify Apache Installation
Visit your server’s IP address in a web browser to check if Apache is running:
http://your-server-ip
You should see the Apache default welcome page.
Step 3: Install MySQL
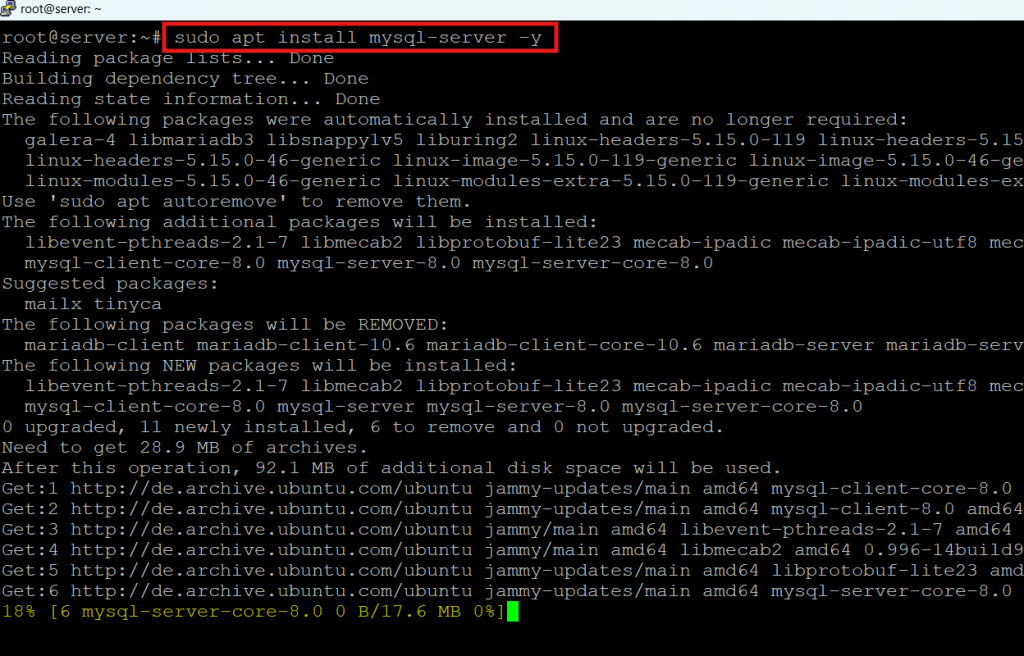
MySQL is the database system used to store and manage data.
sudo apt install mysql-server -y
Start and Enable MySQL
Start the MySQL service and enable it to start on boot.
sudo systemctl start mysql
sudo systemctl enable mysql

Secure MySQL
Run the mysql_secure_installation script to secure your MySQL installation:
sudo mysql_secure_installation

You will be prompted to:
- Set a root password.
- Remove anonymous users.
- Disallow root login remotely.
- Remove the test database.
- Reload privilege tables.
Step 4: Install PHP
PHP is the programming language that generates dynamic content for your website.
sudo apt install php libapache2-mod-php php-mysql -y

Restart Apache
Restart Apache to apply the changes.
sudo systemctl restart apache2

Step 5: Test PHP
Create a PHP test file to verify that PHP is working correctly with Apache.
sudo nano /var/www/html/info.php
Add the following code:
<?php
phpinfo():
?>
Save the file and exit.
Visit the file in your web browser:
http://your-server-ip/info.php

You should see a PHP information page displaying the PHP configuration.
Important: After testing, remove the info.php file to avoid exposing sensitive information.
sudo rm /var/www/html/info.php
Step 6: Configure Firewall (Optional)
Ensure that HTTP and HTTPS traffic is allowed through the firewall.
sudo ufw allow ‘Apache Full’
sudo ufw enable
Conclusion
Congratulations! You have successfully installed and configured a LAMP stack on your VPS. With this setup, you can now host dynamic websites and web applications.

