Table of Contents
With the latest release of cPanel, an excellent new feature has been added allowing users to easily convert addon domain to account (into a primary domain). If you need information on domain conversion, then this guide is for you.
*NOTE: this method requires the user to have root access to the WHM account associated with their cPanel account. If you do not have access to WHM, you may need to contact your hosting provider for more information on how to make this change.
What is Addon Domain
Addon domains allow you to control multiple domains from a single cPanel account. An addon domain links a new domain name to a subdirectory of your account’s home or public_html (document root) directory and then stores its files in that subdirectory.
Steps to Convert Addon Domain to account Domain in WHM cPanel
Step 1: Create a full cPanel backup of the account that contains the domain that you are attempting to split.

Step 2: Log into WHM as root.

Step 3: Type “convert” into the search field to the left.
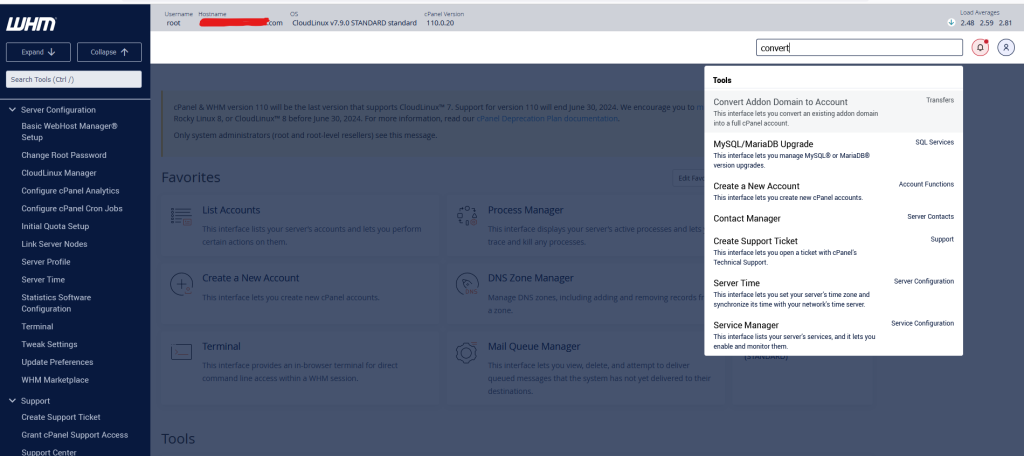
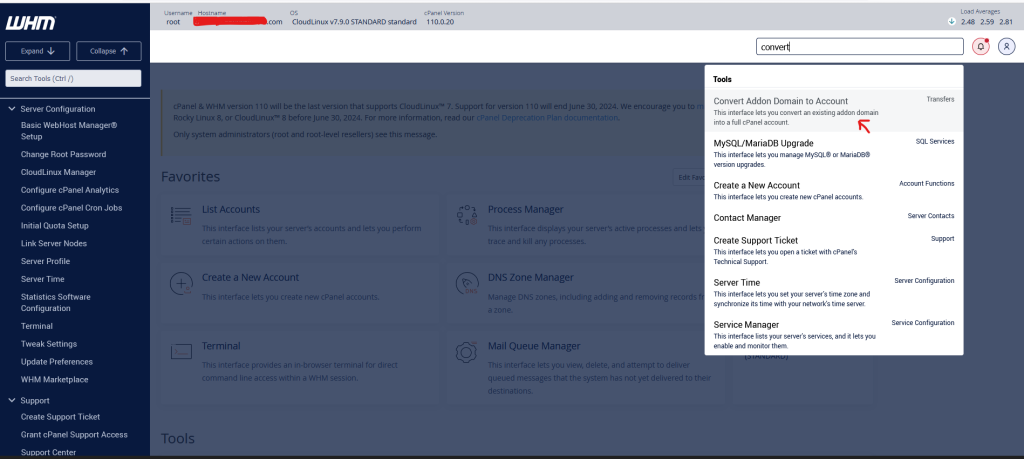
Step 4: Click on Convert Addon Domain to Account under the Transfers section.
Step 5: Click the Convert icon next to your addon domain.

Step 6: Configure the new Account Settings by filling in the fields accordingly. Refer to the table below for a brief description of the expected values for each field:

Step 7: Under Selection Details for “example.net” confirm that the addon domain’s details are selected for what you would like moved to the new cPanel account. For our example, all the details were selected correctly, except for the website’s databases.

Step 8: In order to select the database for the addon domain, click on the Configure button next to the MySQL Databases option.

Step 9: Review the warning and click to select Move from the How do you want to transfer your MySQL Databases? options.

Step 10: Review the notice in the MySQL Databases for “example.net” section and proceed to make your selection for the Database(s) to be moved.
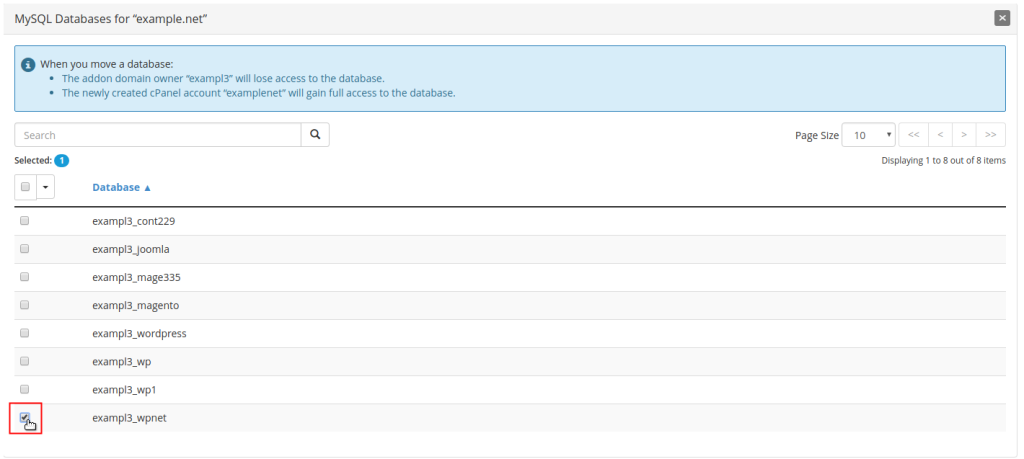
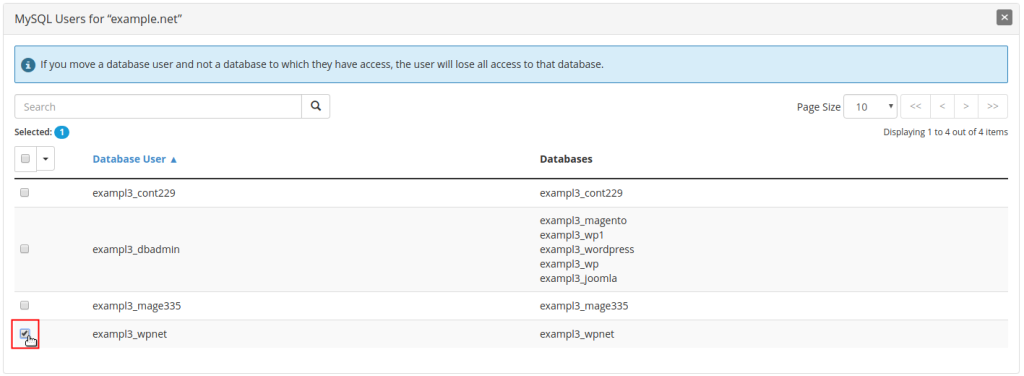
Step 11: Review the notice in the MySQL Users for “example.net” section and proceed to make your selection for the Database User(s) to be moved.
Step 12: Scroll down and click the Save Selections button.

Step 13:
Click on the Start Conversion button.


