You can now access the Virtualmin 7 installation at http://YourServerIpAdress:10000 or https://YourNameServer:10000
Ignore the SSL certificate validation error in your browser (the SSL certificate is self-signed after the initial installation, but can be replaced with a valid certificate once the initial configuration is complete).
Table of Contents
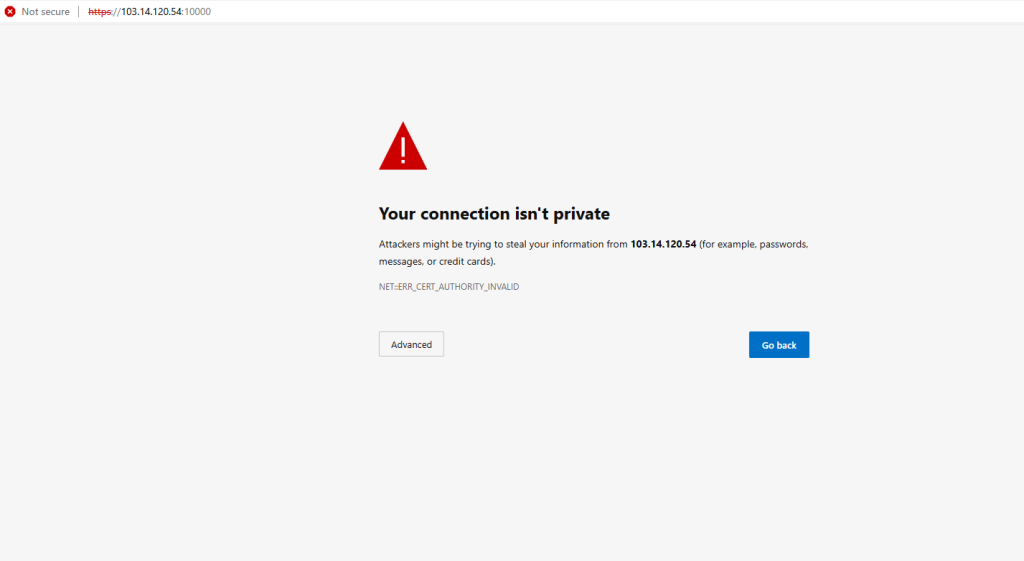
To access the Virtualmin web interface you must enter the root user and password to access the server.

Accessing and configure Virtualmin’s Web Interface
Follow the steps in the post-installation wizard to configure Virtualmin according to your environment and needs. Virtualmin will verify your system configuration and validate some server settings to make sure your system is ready for service.
Once you have logged in, you’ll see the Introduction screen stating that you are going through the steps to configure Virtualmin. Press Next to continue.

Select the appropriate RAM usage settings for your system and click the “Next” button

Select whether you want to run clamAV antivirus in the background.

Select if you want to run the antispam spamd in the background.

Select whether to run a MySQL server, a PostgreSQL server or both and click the “Next” button

Set a root password for the database server (MySQL/PostgreSQL).

Configures the primary nameserver (Nameserver)
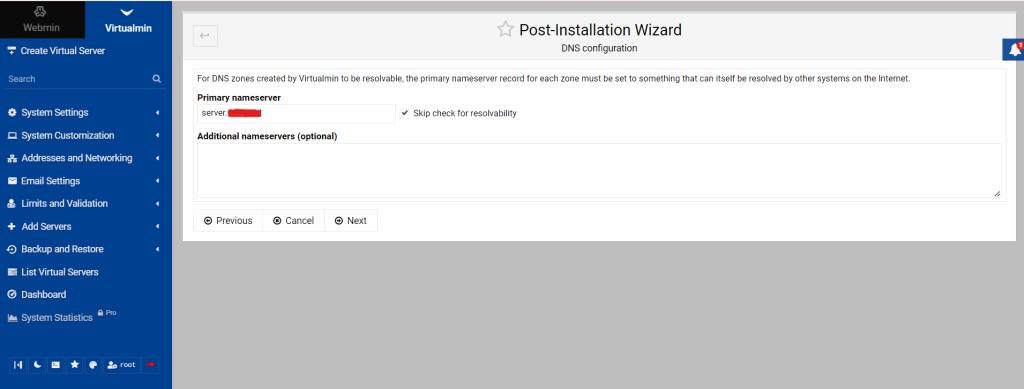
Continue with the custom configuration of Virtualmin with some additional parameters by clicking the “Next” button.

Select whether you prefer to store passwords in plain text or hash.

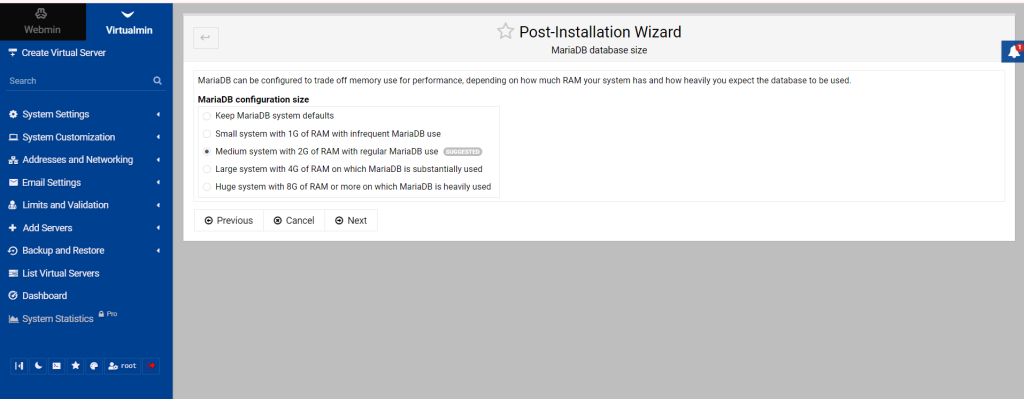
Select the RAM memory usage and performance parameters for MySQL/MariaDB
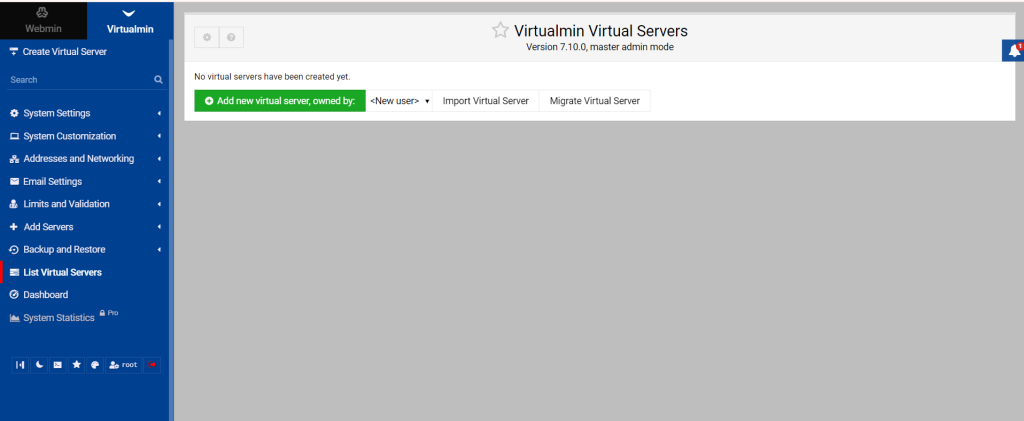
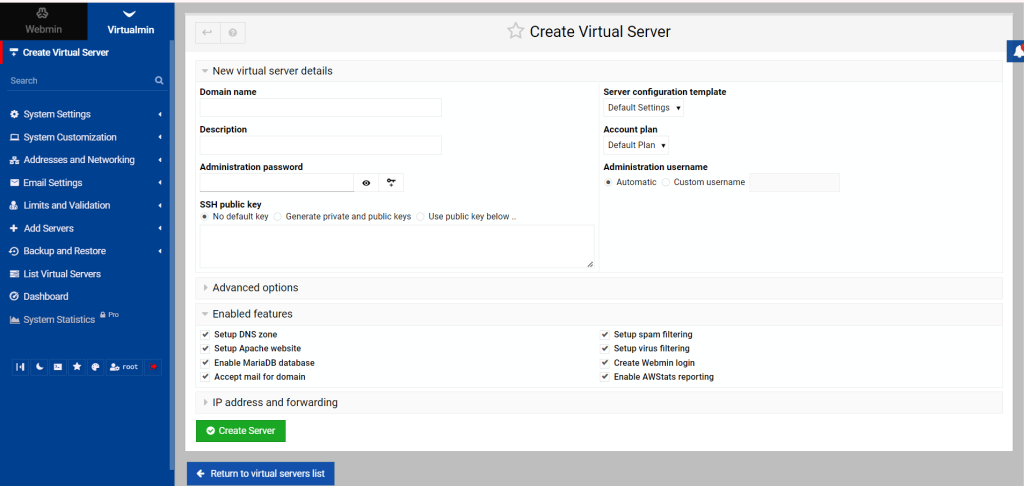
You can now click on “Add new virtual server… “ to start creating your first Virtualmin website!
Conclusion
In this tutorial, you have learned how to accessing and configure Virtualmin’s Web Interface On Ubuntu 22.04 Post-Installation Wizard
Now that you are familiar with Virtualmin’s features and interface, feel free to explore it on your own.

