WordPress Site in Plesk – WordPress remains the most popular CMS for building websites of all kinds, from personal blogs to enterprise-level sites. Plesk, with its user-friendly interface and WordPress-focused tools, makes it easy to manage and optimize WordPress websites. If you’re ready to get started, this guide will walk you through setting up a WordPress site in Plesk, covering everything from installation to essential security settings.
Table of Contents
WordPress Site in Plesk: A Step-by-Step Guide
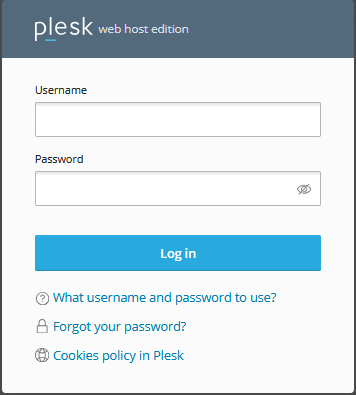
Step 1: Log into Plesk
Begin by logging into your Plesk control panel. Plesk provides an intuitive dashboard with various tools to manage domains, applications, and security settings in one place. If you don’t have Plesk installed, follow your hosting provider’s instructions to access it.
Step 2: Add a New Domain or Subdomain
To install WordPress, you’ll first need a domain or subdomain. In Plesk:
- Navigate to Websites & Domains on the left-hand side of the dashboard.
- Click on Add Domain or Add Subdomain, depending on your preference.
- Enter the domain name, select your preferred hosting type, and adjust any settings (e.g., SSL certificates).

Once done, Plesk will set up the domain, and you’ll be ready to install WordPress on it.
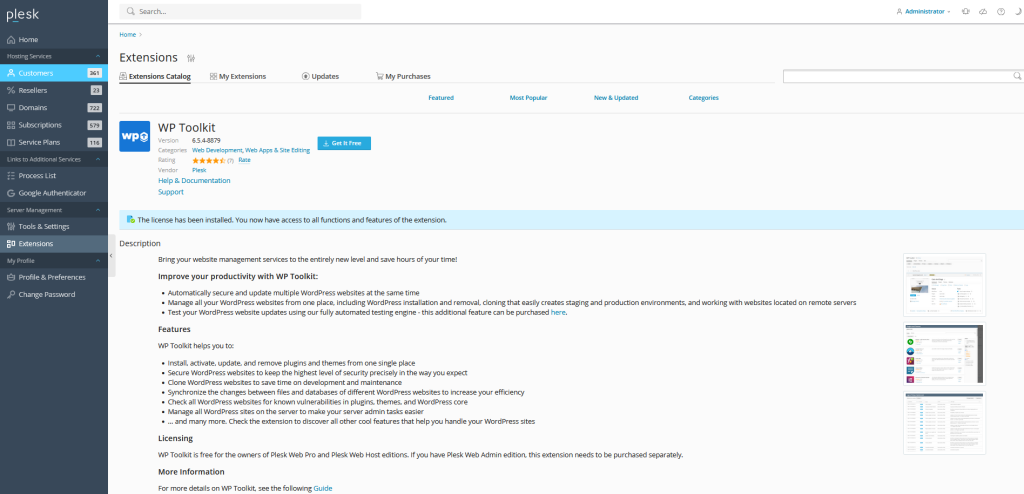
Step 3: Install WordPress with the WordPress Toolkit
Plesk’s WordPress Toolkit simplifies WordPress installation and management:
- Go to WordPress Toolkit on the left-hand menu.
- Click Install WordPress.
- Choose your newly created domain from the dropdown.
- Select your preferred installation options, including:
- Database Settings: Use the default settings or customize the database if you prefer.
- Admin Account: Enter your desired WordPress admin username, password, and email address.
- Installation Path: Choose the directory where WordPress will be installed (typically root or a specific subfolder).
Once you confirm your settings, click Install. The WordPress Toolkit will handle the installation automatically.
Step 4: Access Your WordPress Dashboard
After installation, you can access your WordPress dashboard directly from Plesk:
- Go back to the WordPress Toolkit.
- Under your domain, click Log in to access your WordPress dashboard.
From here, you’re now inside WordPress, where you can manage themes, plugins, content, and more.
Step 5: Secure Your WordPress Site
Security is essential, especially for WordPress sites. Plesk’s WordPress Toolkit provides built-in security features:
- In the WordPress Toolkit, locate Security settings under your domain.
- Click Check Security to scan for vulnerabilities.
- Apply security measures by following the prompts for items like:
- Disable XML-RPC: Helps protect against certain brute-force attacks.
- Set Strong Passwords: Enforces secure passwords for admin and users.
- File Permissions: Corrects permissions to protect core WordPress files.
Plesk will automatically apply these measures to harden your website security.
Step 6: Set Up an SSL Certificate
To protect data and build trust with your visitors, enable SSL for your site:
- Go to Websites & Domains and select SSL/TLS Certificates under your domain.
- Choose Let’s Encrypt (free SSL) or upload a certificate if you have one.
- Follow the prompts to install and activate the SSL.
Once SSL is active, your website will be accessible over HTTPS, offering encrypted connections.
Step 7: Customize WordPress Themes and Plugins
Now it’s time to customize your site’s appearance and functionality:
- In the WordPress Toolkit, you’ll see options to manage themes and plugins.
- To install a new theme, go to Appearance > Themes in the WordPress dashboard and browse available options.
- For plugins, go to Plugins > Add New in WordPress to explore extensions for SEO, security, analytics, and more.
Only install trusted themes and plugins from reputable sources to avoid security risks.
Step 8: Enable Backups and Automatic Updates
Regular backups and updates are essential for maintaining your WordPress site. Here’s how to automate them in Plesk:
- In the WordPress Toolkit, locate Backup Manager to set up scheduled backups. You can back up your website, database, or both.
- In the Updates tab, enable automatic updates for the core WordPress system, plugins, and themes to keep your site secure and running smoothly.
This ensures you’ll always have a recent copy of your site and helps prevent vulnerabilities from outdated software.
Step 9: Monitor Your Site’s Performance
Plesk provides a performance monitoring feature to help you optimize speed and efficiency:
- In the WordPress Toolkit, go to the Performance tab under your WordPress installation.
- Run a performance analysis and review the recommendations for improving load time.
Improving site speed is key to user satisfaction and SEO, so take action based on any suggestions provided.
Step 10: Launch Your Site
With WordPress installed, secured, and customized, you’re ready to go live! Review your settings one last time, test your site’s functionality, and start publishing content.
To access your live site, simply enter your domain in a web browser. From there, you can log in to WordPress directly via /wp-admin to manage ongoing content and updates.
Conclusion
Setting up WordPress in Plesk is a straightforward process thanks to the WordPress Toolkit and Plesk’s intuitive design. By following these steps, you’ll have a fully functioning WordPress site that’s optimized for performance and security. Whether you’re a beginner or an experienced webmaster, Plesk’s tools make managing WordPress sites easier and more efficient.
WordPress Site in Plesk WordPress Site in Plesk WordPress Site in Plesk WordPress Site in Plesk WordPress Site in Plesk WordPress Site in Plesk