Timezone in WHM – WHM (Web Host Manager) is a web-based tool provided by cPanel that allows administrators and resellers to manage hosting accounts on a server. It is mainly used by web hosting companies or system administrators to manage various aspects of server administration.
To change the time zone in WHM (Web Host Manager), follow these steps:
Step-by-Step Guide to Changing TimeZone in WHM:
1. Log into WHM
- Go to
https://your-server-ip:2087in your browser. (Server login credentials are provided by web hosting provider) - Enter your root username and password to log into WHM.

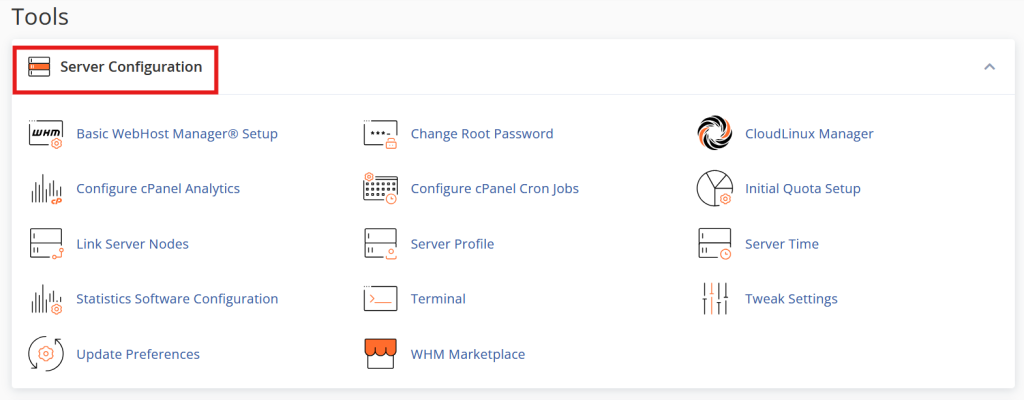
2. Search for “Server Configuration”
- In the WHM dashboard, use the search bar on the left and type “Server Configuration”.
- Click on Server Configuration to expand the options.

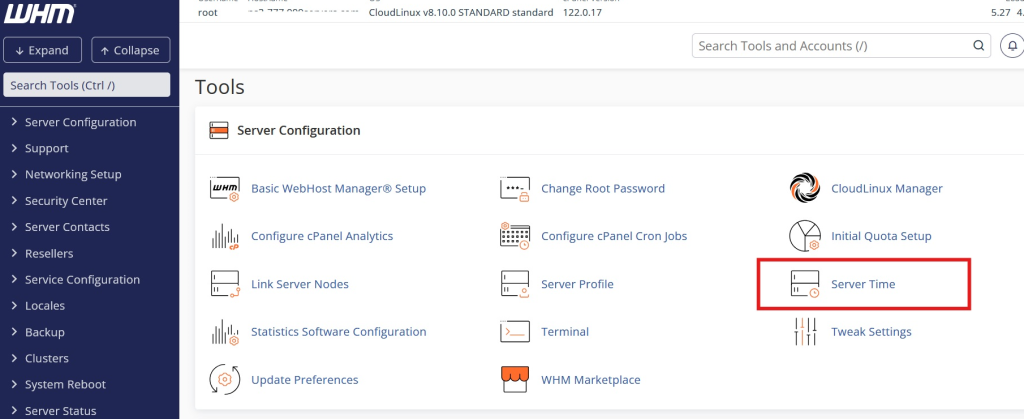
3. Select “Server Time”
- From the Server Configuration menu, click on Server Time.
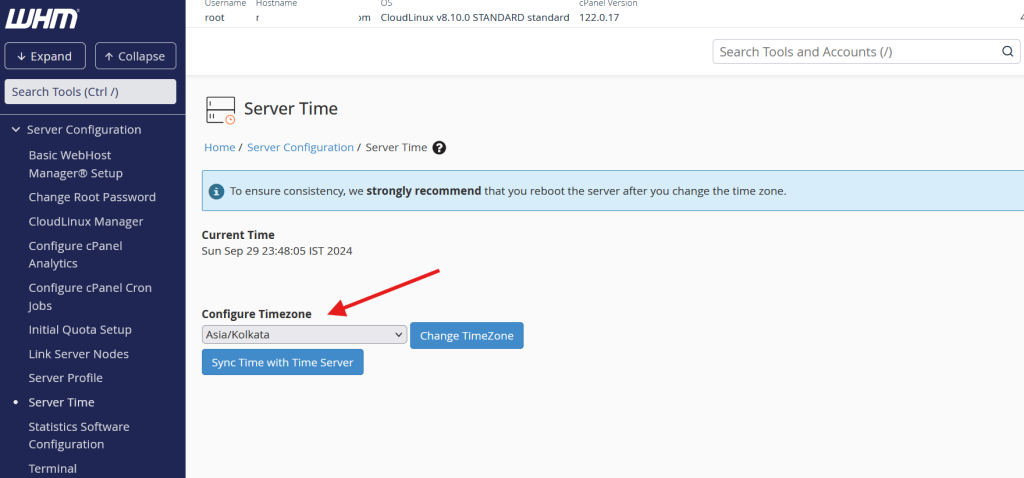
- This will take you to a screen where you can adjust the server’s time zone and current time.

4. Choose the Correct Time Zone
- In the Time Zone section, use the drop-down menu to select your preferred time zone.
- The time zone will be listed in a Region/City format (e.g., Asia/Kolkata).

5. Sync Time with NTP (Optional)
- You can choose to enable Sync Time with Time Server (Network Time Protocol or NTP). This will ensure your server time stays in sync with an accurate time server.
6. Save Changes
- Once you’ve selected the correct time zone, click Change TimeZone to save your changes.
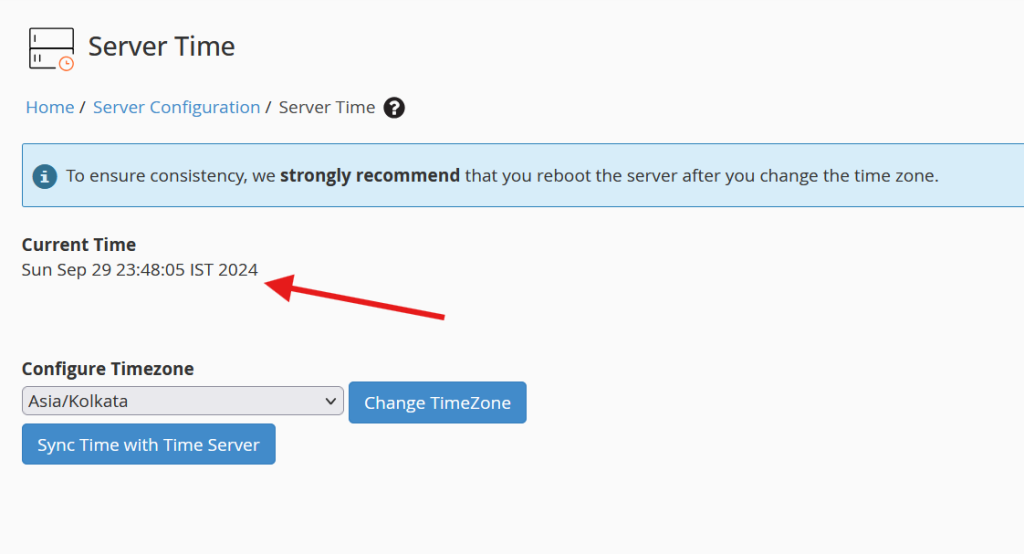
7. Verify the Change
- After making the change, verify that the correct time is being displayed on the Server Time page.

Conclusion:
Changing the timezone in WHM ensures that server logs, scheduled tasks (cron jobs), and various time-sensitive settings are accurately aligned with your local or desired time zone. It’s a simple but important step in maintaining proper server functionality.

