Introduction
aaPanel on Ubuntu – aaPanel is an open-source lightweight Linux control panel that provides a web interface and tools that simplify the creation of a web hosting environment. The control panel offers a straightforward web dashboard to set up websites, databases, DNS entries, mail accounts, and applications on the server.
Table of Contents
aaPanel is a Chinese alternative of a web server control panel like cPanel and Vesta. Developed by BT.cn it is currently at version v6.9.79 (at the moment of the writing). It is free, mature enough, and features some really nice stuff like editor, uploader, file manager, backups and Nginx preconfigured rules. Also, it is user friendly and offers GUI for most of the essential Linux services, making your job managing a web server easier.
In this article, we’ll install aaPanel on a Server, then create a simple website using the web interface.
Before installation
Before start Aapanel installation, please ensure that you have:
- Server with at least 2Gb RAM and 20GB disk space.
- Actual operation system (Ubuntu 20.04 LTS in this example).
- Permissions of “root” user
- Domain “pointed” to your server.
Step-by-Step Installation of aaPanel on Ubuntu
Follow these steps to install aaPanel on Ubuntu server:
Step 1: Update your Ubuntu 22.04 or 20.04 Server
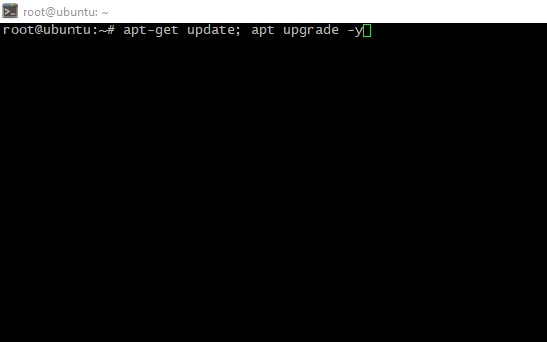
- Login to the server via SSH as “root” user and update current system;
apt-get update; apt upgrade -y

- Reboot the server to avoid outdated software using;
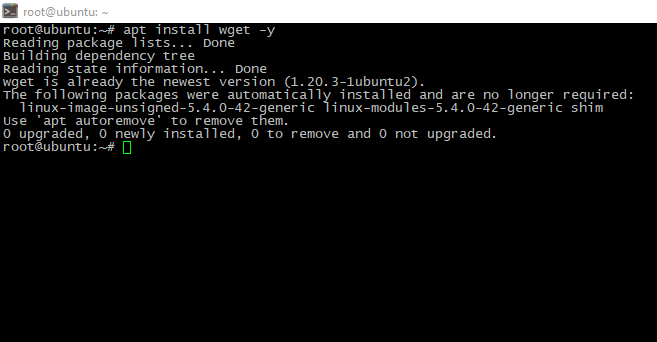
- Install wget package to may acquire installation script further;
apt install wget -y

Step 2. Download and Execute the Installation Script
We need to download the aaPanel installation script first with the following command:
wget -O install.sh http://www.aapanel.com/script/install-ubuntu_6.0_en.sh && sudo bash install.sh aapanelNote: you can check out the script for other Linux systems from the official website.
As you run the script, it will ask for your permission to install aaPanel in the web directory /www, press the Y key, and then Enter to continue the process.

If you are not using SSL already or some WAF service like CloudFlare and want to enable SSL in aaPanel then again type “Y” and hit the Enter key.

Process may take a time, be patient. When install finished, you will see access credentials. Keep it safely.
After installation, you should see something like this:

By default, aaPanel runs on port 8888. You can check it using the following command:
ss -antpl | grep 8888
Output:

During the installation process, aaPanel enables and configures the UFW firewall and allows necessary ports through the firewall. You can check them with the following command:
ufw status
Output:

Step 3. Access aaPanel GUI
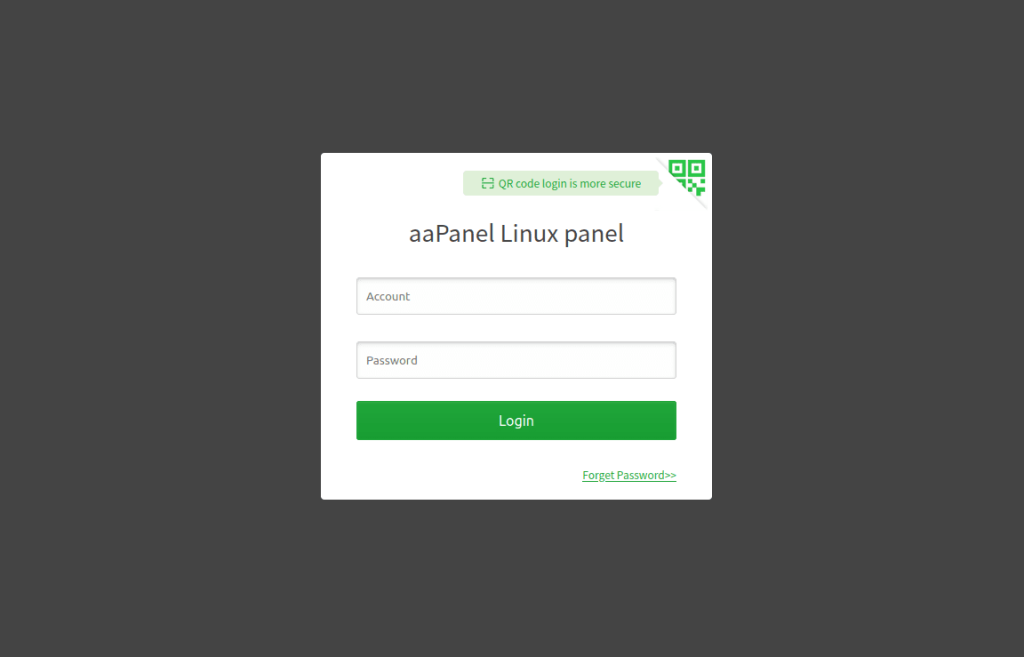
To access the aaPanel use the given URL after the installation and use the provided credentials.
https://YourServerIPAddress:8888/4df96639
You will be prompted to log in to aaPanel using the username and password you got upon the completion of the installation script. Once logged in, you can start using aaPanel to manage your web server and hosting services.

Note: When installing aaPanel, the default port to use is 8888. To change the default port, visit the article change-the-aapanel-port
Uninstallation of aaPanel
In the future, if you want to remove the aaPanel from your Ubuntu server then for that first stop its server and then delete the folder where all the files of this open-source control panel reside. Here is the command for all this:
sudo bt stop &&sudo update-rc.d -f bt remove &&sudo rm -f /etc/init.d/bt &&sudo rm -rf /www/server/panel

